Your space has been looking the same for months, maybe years, and you’re craving change but can’t justify a full renovation or expensive furniture haul. The good news? Refreshing a room doesn’t require an interior designer’s budget or advanced carpentry skills. With a few strategic DIY projects and materials you can grab at any hardware store, you can completely transform how your space looks and feels in a single weekend.
The projects below focus on maximum visual impact with minimal complexity. You won’t need specialized tools or previous experience. Just a willingness to get your hands a little dirty and the satisfaction of pointing to something in your home and saying, “I made that.” According to design experts who specialize in home refreshes, small intentional changes often create more impact than one major expensive purchase.
The Power of Paint Beyond Walls
Everyone knows paint transforms walls, but most people stop there. The real magic happens when you start seeing every surface as a potential canvas. That outdated brass door hardware? A coat of matte black spray paint makes it look like a high-end fixture. The builder-grade light switch covers throughout your home? Paint them the exact same color as your walls and watch them disappear into the background, creating a cleaner, more custom look.
Consider painting your interior doors a bold accent color while keeping the trim white. This creates architectural interest without permanent commitment. Navy blue, forest green, or even charcoal gray doors add sophistication and depth to neutral spaces. The project takes maybe two hours per door including drying time, and the transformation feels dramatic enough that guests will assume you did much more.
Don’t overlook furniture either. That dated wooden dresser or laminate bookshelf gathering dust? Sand it lightly, apply a primer, and paint it in a fresh modern color. Suddenly it’s a statement piece instead of an eyesore. Chalk paint specifically requires minimal prep work and adheres to almost any surface, making it perfect for beginners who want professional-looking results.
Create Custom Wall Art With Minimal Artistic Skill
Blank walls make spaces feel unfinished, but quality art gets expensive quickly. The solution isn’t buying mass-produced prints everyone else has. It’s creating your own custom pieces that look intentional and sophisticated. One of the simplest approaches involves large-scale abstract painting using painter’s tape and a limited color palette.
Buy a large canvas from any craft store, map out geometric sections with painter’s tape, and fill each section with paint colors that complement your room. Peel away the tape after everything dries, and you’ve got a modern abstract piece that looks like it came from a gallery. The geometric precision created by the tape makes even amateur painting look deliberate and professional.
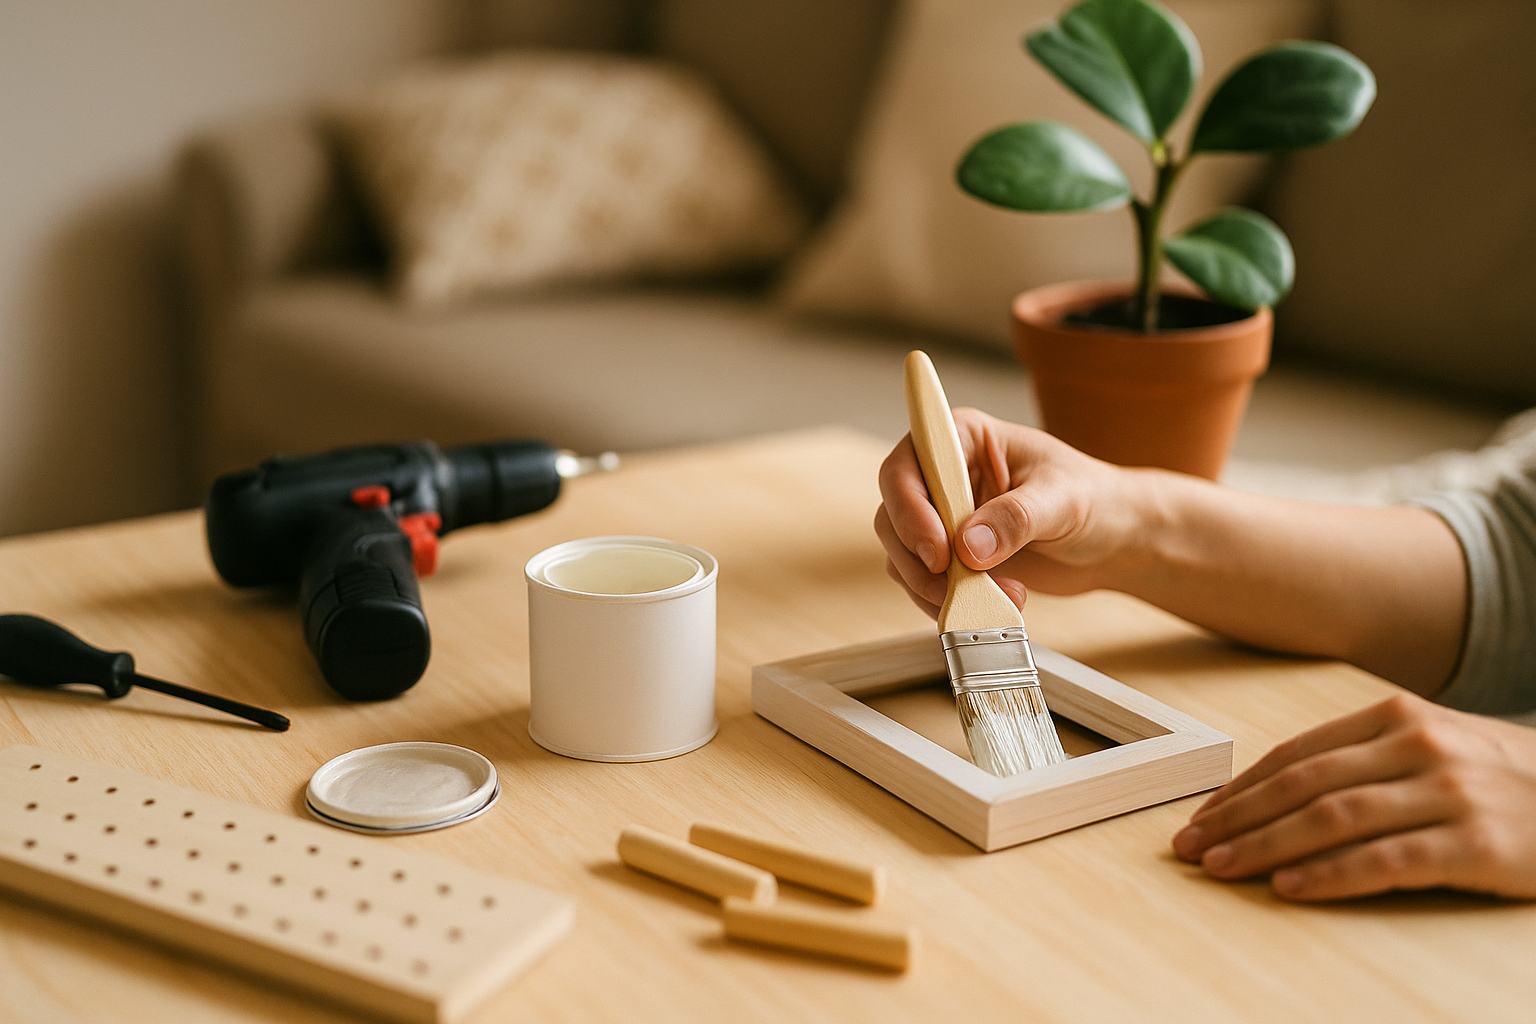
Another approach requires zero painting skill: framing interesting textiles, wallpaper samples, or even pages from vintage books. Visit fabric stores and ask for discontinued sample books they’re discarding. Those small swatches of designer fabric look stunning mounted in matching frames and arranged as a gallery wall. The repetition of frames creates cohesion while the varying patterns add visual interest. As shown in these creative home enhancement projects, simple framing techniques can elevate everyday materials into artwork.
Upgrade Your Lighting Without Rewiring
Lighting might be the most underestimated element in home design. The difference between harsh overhead lighting and warm, layered light sources completely changes a room’s atmosphere. You don’t need an electrician to make significant improvements here.
Start by replacing standard light bulbs with warm-toned LED bulbs in the 2700K range. This simple swap makes every room feel cozier and more inviting. Then add battery-operated puck lights inside bookcases, cabinets, or under floating shelves. These create ambient lighting that highlights your belongings while adding depth to the space.
Pendant light cord covers transform boring builder-grade fixtures into statement pieces. These fabric or woven covers slip over existing cords and instantly upgrade the look of hanging lights. Pair this with a more interesting light bulb like an Edison-style filament bulb, and suddenly your basic fixture looks curated and intentional.
For renters or anyone unable to install new fixtures, floor and table lamps positioned strategically around a room create that layered lighting effect designers always recommend. Place them at different heights and in room corners rather than only beside seating. This distributes light more evenly and eliminates the harsh shadows created by relying solely on overhead fixtures.
Build Simple Floating Shelves for Function and Style
Floating shelves add storage and display space while creating visual interest on empty walls. Despite looking custom and expensive, they’re actually one of the most straightforward woodworking projects you can tackle. You’ll need a wooden board cut to your desired length, shelf brackets, a level, and a drill.
Most hardware stores will cut lumber to your specifications for free or a small fee, eliminating the need for saws or measuring skills. Choose a wood species and stain that complements your existing furniture. Pine offers an affordable option that takes stain beautifully, while poplar provides a smooth surface perfect for painting.
The key to professional-looking floating shelves is using hidden brackets rather than visible L-brackets. These rod-style brackets mount to wall studs and slide into pre-drilled holes in your shelf, making the shelf appear to float without support. Take your time with the level during installation. A perfectly level shelf looks custom and intentional, while even a slightly tilted shelf screams amateur DIY project.
Style your new shelves with a mix of heights and textures. Combine books, small plants, decorative objects, and empty space. The biggest mistake people make is cramming shelves full. Negative space is just as important as the objects you display, giving each item room to breathe and preventing the cluttered look.
Refresh Cabinets and Furniture With New Hardware
Cabinet hardware is like jewelry for your furniture. Swapping out dated knobs and pulls creates an instant upgrade that takes minimal time and zero special skills. This project delivers a remarkably high impact-to-effort ratio, especially in kitchens and bathrooms where hardware appears repeatedly.
Measure your existing hardware’s hole spacing before shopping for replacements. If your current pulls have two screws spaced 3 inches apart, look for new pulls with that same 3-inch spacing to avoid drilling new holes. When you find hardware you love that doesn’t match your existing holes, wood filler and paint can cover old holes before drilling new ones.
Consider mixing metals for a more collected, less matchy look that feels current. Matte black mixed with brass, or brushed nickel with copper creates visual interest while still feeling cohesive if you maintain consistent shapes. For example, all round knobs in varying finishes, or all bar pulls in different metals.
Don’t limit this thinking to cabinets. Dressers, nightstands, and even old filing cabinets transform completely with new pulls. A dated piece of furniture often just needs updated hardware and a fresh coat of paint to become something you’d be excited to display rather than hide.
Add Texture With Removable Design Elements
Texture creates depth and interest in ways that color alone can’t achieve. The good news for renters or commitment-phobes is that many high-impact texture additions are completely removable. Peel-and-stick wallpaper has evolved dramatically from its early iterations. Modern options look indistinguishable from traditional wallpaper and remove cleanly without damaging walls.
Using peel-and-stick wallpaper on a single accent wall or even just inside a bookcase creates a focal point that draws the eye and adds personality. Geometric patterns, subtle textures, or bold florals each create different moods. Start with a small area like a powder room or closet interior if you’re nervous about the commitment.
Temporary tile decals similarly transform backsplashes and bathroom walls without the permanence or expense of real tile installation. These adhesive covers apply directly over existing tile or smooth walls, giving you the look of expensive tile work for a fraction of the cost. When you’re ready for a change, they peel right off. Many of these creative approaches are featured in budget-friendly aesthetic transformations that prove style doesn’t require major investment.
Natural texture elements like jute rugs, woven baskets, or macrame wall hangings add warmth and dimension to spaces dominated by hard surfaces. These pieces soften rooms visually while serving practical purposes. Baskets corral clutter, rugs define seating areas, and wall hangings fill vertical space without the commitment of paint or wallpaper.
Maximize Impact With Strategic Decluttering and Rearranging
Sometimes the most transformative DIY project costs absolutely nothing. Before buying anything new or starting projects, remove everything from your space that doesn’t serve a clear purpose or bring you genuine joy. This isn’t about minimalism necessarily, it’s about being intentional with what you display and store.
Clear surfaces create breathing room and make spaces feel larger and more expensive. If your coffee table, countertops, and shelves are covered with stuff, even the most beautiful room feels chaotic. Pare down to a few meaningful objects on each surface, storing the rest out of sight or donating what you don’t actually need.
Once you’ve decluttered, try rearranging your furniture in new configurations. Pull seating away from walls to create conversation areas. Angle a chair instead of placing everything parallel to walls. Swap furniture between rooms if pieces aren’t working in their current locations. That dresser struggling to fit in your bedroom might be perfect as a media console in the living room.
Consider the traffic flow through each room. Furniture arrangements should guide movement naturally without creating obstacle courses. Leave clear pathways and ensure the room’s focal point, whether that’s a fireplace, window with a view, or television, is emphasized by your furniture placement rather than competing with it.
Bringing It All Together
The beauty of these simple DIY projects is that you don’t need to tackle them all at once. Start with whichever project excites you most or addresses your space’s biggest pain point. Maybe that’s the boring beige walls that need a painted accent door, or the cluttered shelves that need editing and styling.
Each small improvement builds momentum and confidence for the next project. You’ll start seeing potential everywhere, noticing how a coat of paint could transform that thrift store find or how moving your sofa three feet to the left opens up the entire room. The goal isn’t perfection or completing some predetermined checklist. It’s creating a space that feels intentionally designed and genuinely reflects your style, even if your budget is limited and your tool collection fits in a shoebox.
Give yourself permission to experiment. Paint can be repainted, shelves can be moved, and hardware can be swapped again if you change your mind. The only way to truly fail at refreshing your space is to do nothing and keep living with a home that doesn’t make you happy. Start with one project this weekend and see where it takes you.
Leave a Reply